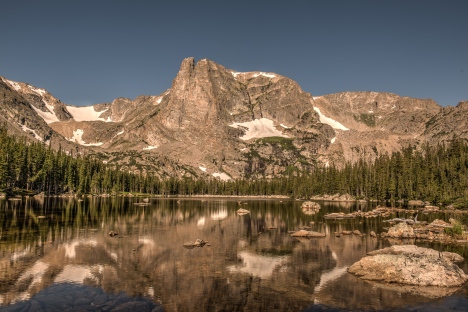
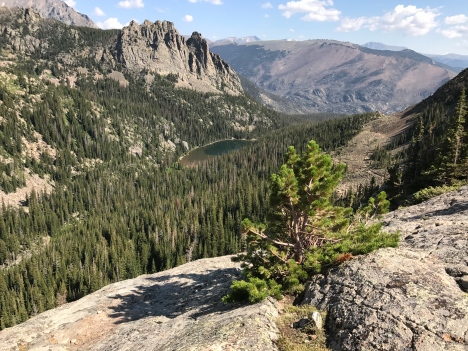
Northeast end of Two Rivers Lake looking at Notch Top Mountain
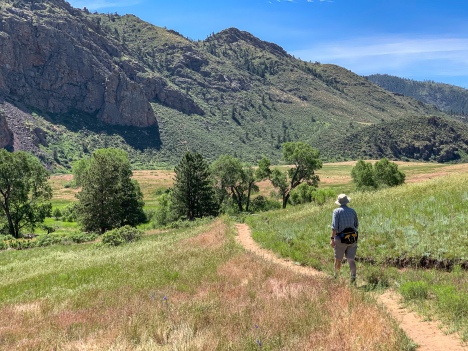
Dave, a good photog friend and hiking buddy of mine, and I hiked up to Two Rivers Lake in Rocky Mountain National Park this last week. It’s a relatively short hike from the Bear Lake Trailhead up the Flat top trail towards Odessa and Lily Lake along the Fern Lake Trail. About 6 miles round trip. To avoid the crowds at this very popular Trailhead we arrived a little after 6am at Bear Lake to begin our hike.
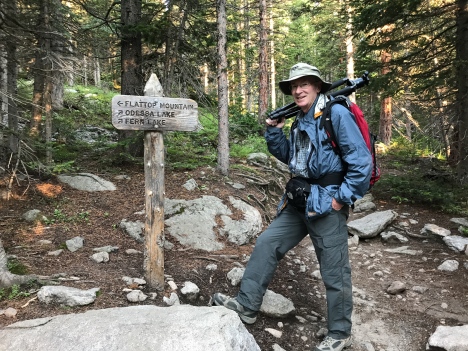
Dave stands beside the sign where the Flattop Mountain Trail and the Fern Lake Trail diverge
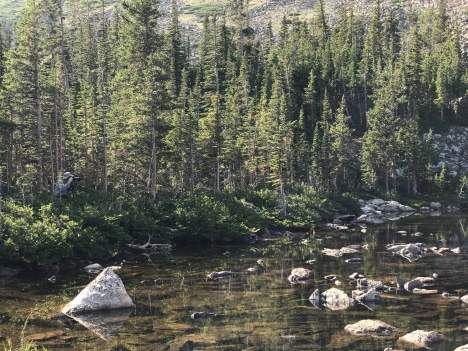
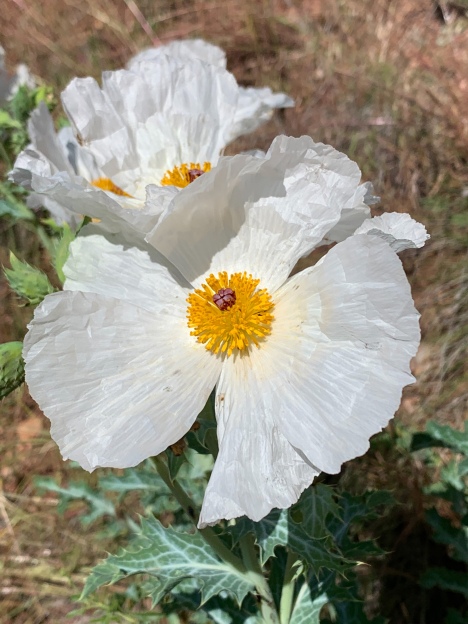
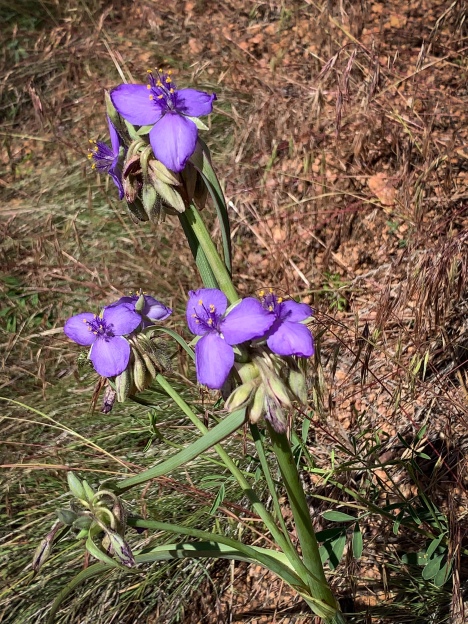
It was an entertaining trek as we encountered numerous small streams with running water (your hiking along Mill Creek that comes from Two Rivers Lake) and a variety of wildflowers along the way.
Two Rivers Lake can be difficult to find. It’s not readily visible from the trail unless you’re looking for it. There is not a true trail to it and thus one must ‘bushwhack’ their way to it. The lake is not far off the Fern Lake Trail, at the most about a hundred yards. But between you and the lake is a downhill boulder field followed by thick vegetation to whack through once you get close to the water.

A good ‘tell’ that you are in the area is a sign for a backcountry campground named ‘Sourdough’. Once you meet up with this sign, the place to get off the trail is only about 50+ yards ahead (on the left). At this point you will have to pick what looks like the easiest way to Rock Hop down to the lake (and through the thick trees).
Now, there’s a trail of sorts that one can take down near the lake about 25 yards beyond this point. The problem with this is that the trail takes you toward the southwest end of the lake. If you’re there for photography, this is not the end of the lake you want to be at. Jutting up out of the lake at the southwest end is Notch Top Mountain. Viewing from the Northeast end of the lake makes for a more pleasing photograph with Mountain giving the image depth at the other end. So, if you have been ‘sucked’ down this trail, you now have to rock hop and bushwhack back around the edge of the lake. We had a lot of company along this trek (yes, we erroneously went down the trail) in the form of swarms of mosquitoes. In fact, they were ever present our whole time at the lake, but I came away with zero bites. No idea why? All males?

I ‘rock hopped’ across the water to get out to a vantage from which to shoot.
At the northeast end I found rocks in the water that I could use to make my way out into the lake to get a decent angle from which to look down it’s length (see picture at top of post).
See Dave at the far left, in the bushes getting his shot!
Dave had long pants on (I was in shorts) and choose to continue through very thick brush to the end of the lake and shoot from there. But, he’s the professional, what do I know (but I’m learning!).
After we were done, we rock hopped directly back up to Fern Lake Trail. It was mindful of the ‘Boulder Field’ one hops through up near the Keyhole on Long’s Peak. The differences? They’re large rocks not boulders and it’s not as long a hopping journey to endeavor!

Dave finishing up his trek over the rocks back to the Fern Lake Trail
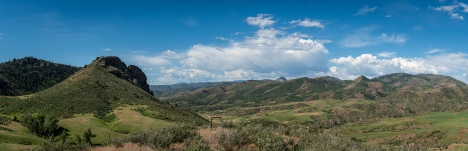
At this point it was only about 10 am, so we chose to hike on to Lake Helene which is about a quarter mile up the trail. It’s a smaller, roundish lake with very clear water. We didn’t spend much time there and hiked a little farther to a rocky overlook that provides a view down a long valley in which Lake Odessa is visible. Fern Lake (which lies beyond Lake Odessa) is not visible from this perch.
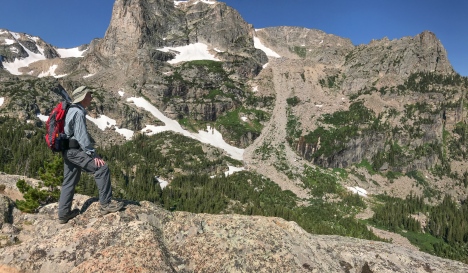
Rocky perch available on the left side of trail when traveling toward Odessa Lake
Odessa Lake visible in the valley from atop the rock perch.
I learned that some treat the Fern Lake Trail as a loop hike. They continue downhill into the valley from this point past Lake Odessa to Fern Lake. Nearby Fern Lake (I’m told) you can pick up a shuttle that will take you back up to Bear Lake (and your car). This makes the hike about 8 miles plus the ride. We chose to hike back down to Bear Lake meeting many friendly hikers coming up along our way.
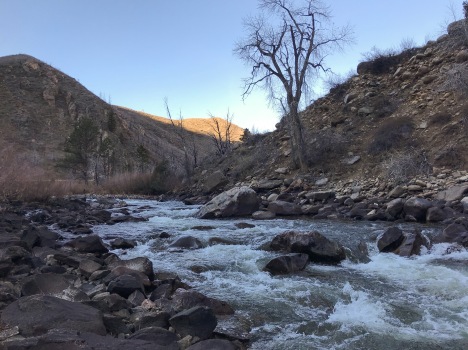
(Except for the very top image, all the rest were taken with an iPhone 7 plus)
Filed under: hiking, Uncategorized | Tagged: hiking, photography, RMNP, Rocky Mountain NP | Comments Off on Hike to Two Rivers Lake


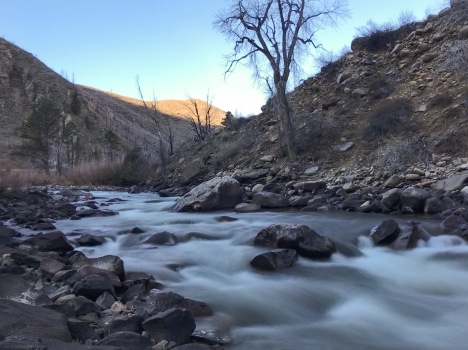
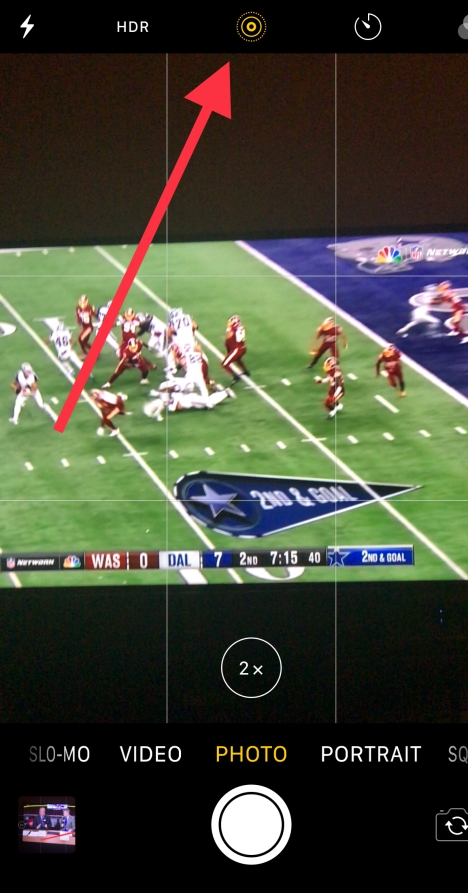
 If you were to ‘3-D touch‘ it in the Photos App the water would begin moving like in a GIF. If you swipe up from the bottom of the photo, then four options will appear below the image. Only two are visible at a time, but by swiping left the other two are exposed. The first two are Live and Loop. Live being what you see before you swiped up. Loop creates a repeating GIF (like when you ‘3-D touched the image).
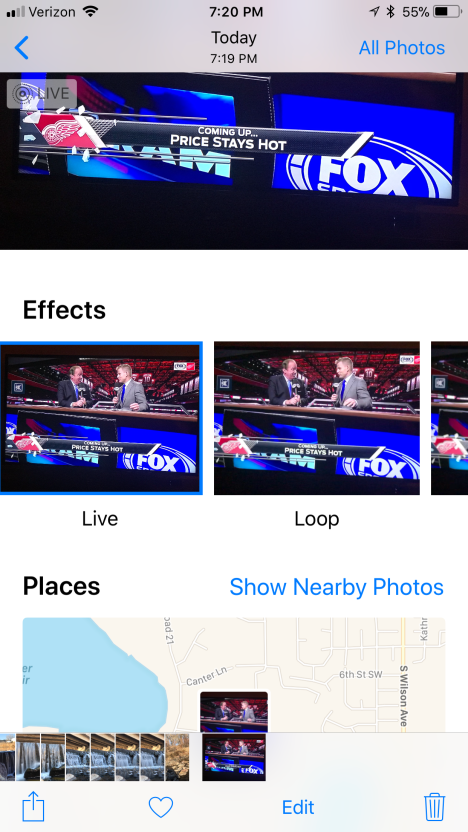
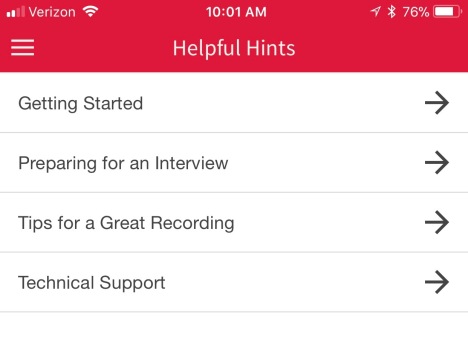 The app has great tips for making a quality recording that will help guarantee a great experience for young and old participants. I thought I would need to get a good mic for the iPhone (I didn’t want to hold the phone up to the person’s mouth). But I placed it between us and it worked fine. (The app encourages you to hold it up to the speakers mouth – within about 6-8 inches). Although I imagine a mic would make a higher quality recording. The preparing for the interview may be more important than the interview itself as you want to make sure you have a quiet environment where you won’t be interrupted. Next the questions you ask and their order will be important. This you may want to talk over with the person you’re going to interview. Also, if a child or student is doing the interview, you definitely want to let them come up with some of the questions. The app provides examples of questions for many topics/types of interviews. They are presented in various lists depending on who the two are that are involved in the interview.
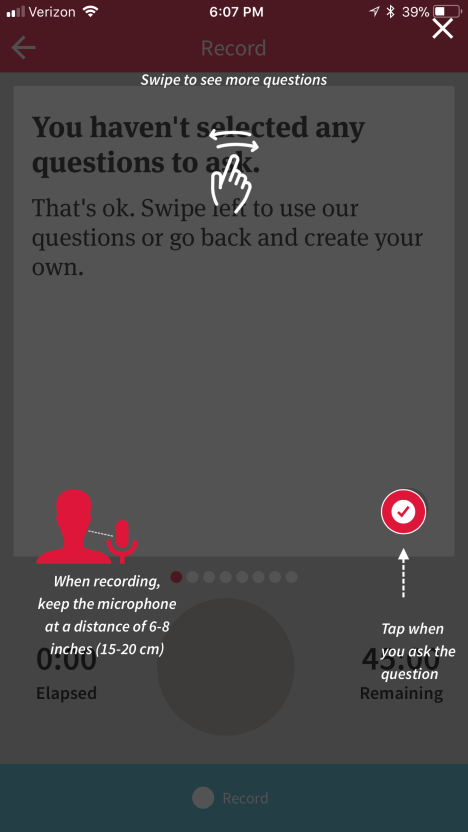


